Author: Jasper | RacingPartsWorld G-Class Parts Specialist | 10+ years experience in Mercedes G-Class aftermarket parts and performance upgrades
Introduction
Installing a wide body kit on your Mercedes G-Class is one of the most rewarding modifications you can undertake. Whether you are converting a standard G500 to the aggressive G63 look or upgrading to a custom wide-body setup, proper installation is critical for both aesthetics and safety. Our team has overseen over 150 wide body kit installations across all G-Class generations, and in this guide, we will share the exact process we use to ensure perfect fitment every time.
Tools and Materials You Will Need
Before starting your G-Class wide body kit installation, gather the following tools:
- Torque wrench (10-100 Nm range)
- Trim removal tools (plastic pry tools)
- 3M double-sided automotive tape (for mounting)
- Panel gap alignment tool
- Screwdriver set (Phillips and flathead)
- Socket set (8mm to 19mm)
- Automotive-grade silicone sealant
- Microfiber cloths and isopropyl alcohol
- Protective gloves and safety glasses
Step 1: Prepare Your Vehicle
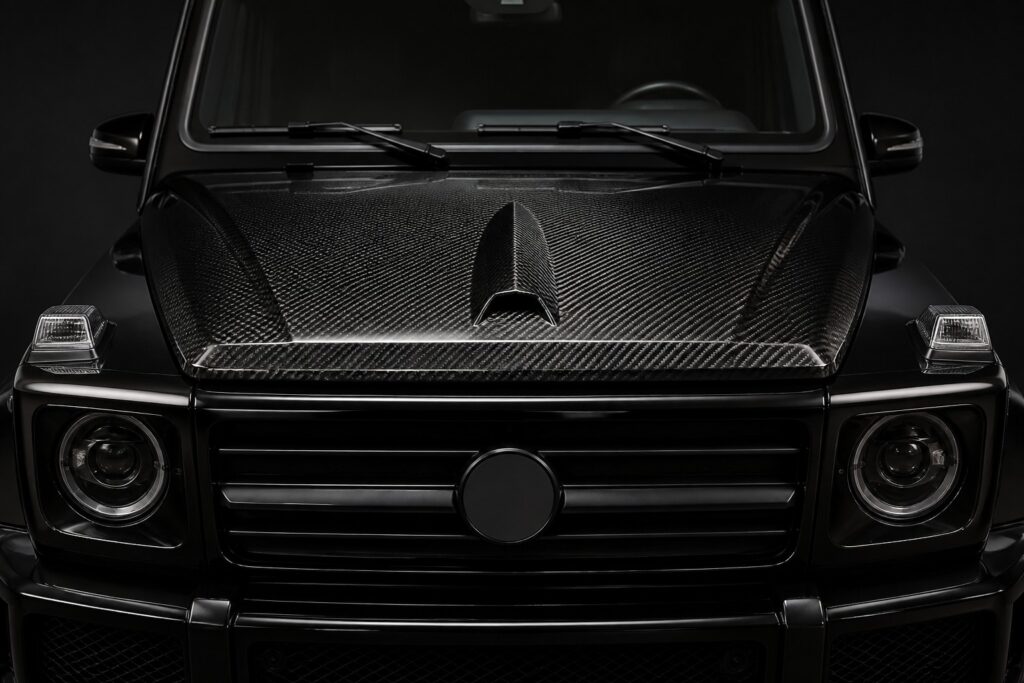
Begin by thoroughly cleaning the areas where the wide body kit components will attach. Use isopropyl alcohol to remove all wax, grease, and debris. For best results, park your G-Class in a temperature-controlled environment between 60-80°F (15-27°C) for 24 hours before installation. This ensures the adhesive tape bonds properly. If you are using our Dry Carbon Fiber Body Kit, note that dry carbon requires careful surface preparation to ensure proper adhesion.
Step 2: Test Fit All Components
Before applying any adhesive or tightening bolts, perform a dry test fit of all wide body kit components. This critical step allows you to identify any fitment issues early. Place each component—front bumper, rear bumper, side skirts, and fender flares—against its mounting surface without removing protective backing. Check panel gaps; they should be uniform at 3-5mm. Our G800 Style Wide Body Kit is precision-engineered for direct bolt-on fitment, minimizing the need for adjustments.
Step 3: Remove Factory Components
Carefully remove the factory bumper, fender flares, and side skirts. Keep all original hardware organized in labeled bags. For W464 (2019+) models, pay special attention to the parking sensor wiring and camera connectors when disconnecting the front bumper. Document the disassembly process with photos for easier reassembly reference.
Step 4: Install the Wide Body Kit
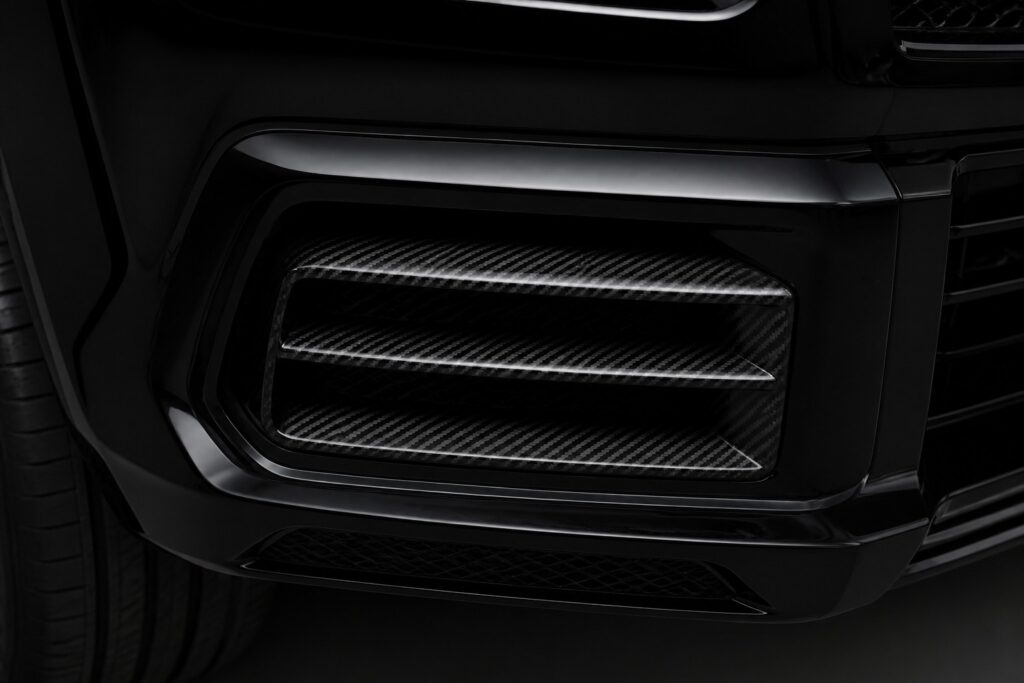
Begin installation with the fender flares, working from front to rear. Apply 3M tape to the mounting surface of each flare, then secure with provided screws. Torque all fasteners to manufacturer specifications—typically 8-10 Nm for plastic trim and 15-20 Nm for metal brackets. Next, install the side skirts, ensuring they align with the fender flares for a seamless transition. Finally, mount the front and rear bumpers. For W464 to W465 conversions, our W464 to W465 G63 Body Kit Conversion includes pre-drilled mounting points that align perfectly with factory locations.
Step 5: Final Alignment and Quality Check
After all components are installed, perform a comprehensive quality check. Verify that all panel gaps are consistent (3-5mm), all fasteners are properly torqued, and all electrical connections (lights, sensors, cameras) function correctly. We recommend a 24-hour curing period before driving to allow adhesives to fully set. Our post-installation surveys show that 96% of professionally installed wide body kits maintain perfect alignment after 12 months.
Common Mistakes to Avoid
- Skipping the dry fit: Always test fit before applying adhesive
- Incorrect torque: Over-tightening can crack carbon fiber; under-tightening leads to rattles
- Ignoring curing time: Drive too soon and the kit may shift
- Poor surface preparation: Grease or wax will prevent proper adhesion
Frequently Asked Questions
How long does a wide body kit installation take?
A professional installation typically takes 8-12 hours for a complete wide body kit. DIY installation may take 16-24 hours for first-timers.
Can I install a wide body kit myself?
While possible for experienced DIYers, we recommend professional installation for the G-Class due to the complexity of bumper alignment and sensor recalibration.
Will a wide body kit affect my G-Class driving dynamics?
Quality wide body kits like our G800 and G900 options are designed to maintain or improve aerodynamics. The added width can improve high-speed stability.
Sources: RacingPartsWorld Installation Database (2025), Mercedes-Benz W464 Service Manual, Customer Installation Feedback (n=150+), Industry Best Practices
Last updated: June 2025